How to attach Solar Panels to RV roof, Yacht and Motorhomes
Aug 10 , 2022Solar panels on RV are all the rage. Everyone is installing them. But what are RV solar panels? How do they work, what can they do for you, and are they worth the investment?
As always, we highly recommend reading all instructional material included with your solar kit prior to installing.
As a supplier of rv solar panel mounting, please follow us next !
Shop rv solar panel mounts or learn more about these 6 steps:
1. Fix panels with screws or adhesives
2.Connect a charge controller and a battery
3. Connect panels: series for voltage, parallel for amps
4. Add inverter to power RV appliances
1. Fix panels with screws or adhesives
The first step in installing tile roof mounting bracket is mounting your RV panels. The process will differ depending on what type of panels you have. Rigid panels typically must be affixed to the roof with screws. flexible solar panel thin-film mounts are typically attached to the roof with an adhesive. Note that your roof membrane material will determine the type of adhesive required. (Because of this, many kits only supply the mounting hardware, not adhesive.)
Pro Tip:In the USA solar panels produce the most energy when facing south at an angle between 30 and 45 degrees. Panels better not be overshadowed.
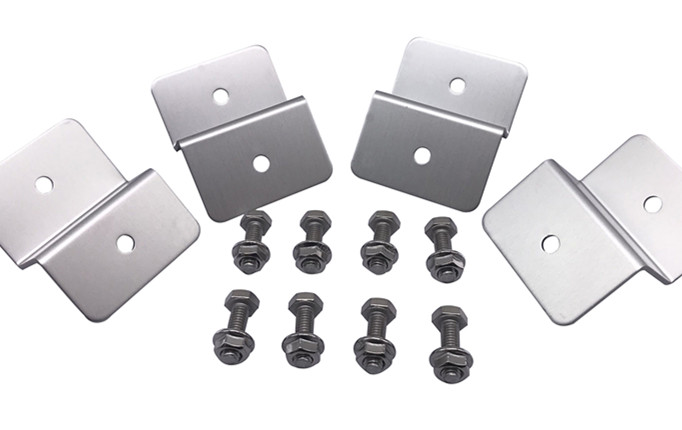
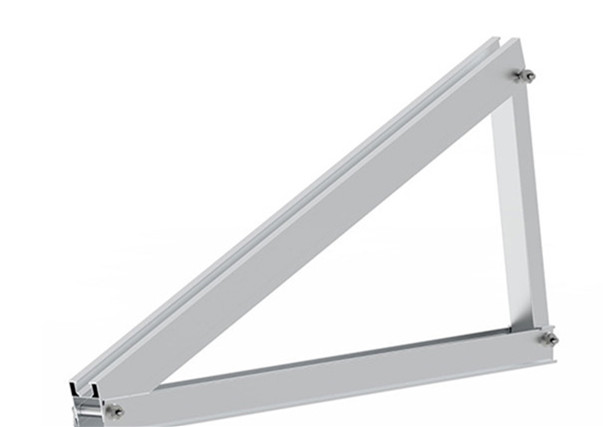
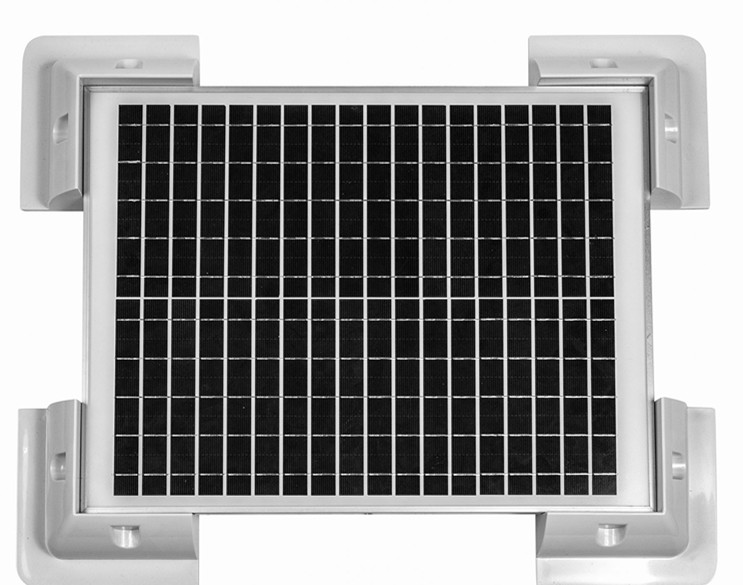
Rigid poly or mono panels are usually placed on mounting brackets, here are some hot products to choose from:
Adjustable triangle Mounting Brackets
White ABS solar panel mounts
2.Connect a charge controller and a battery
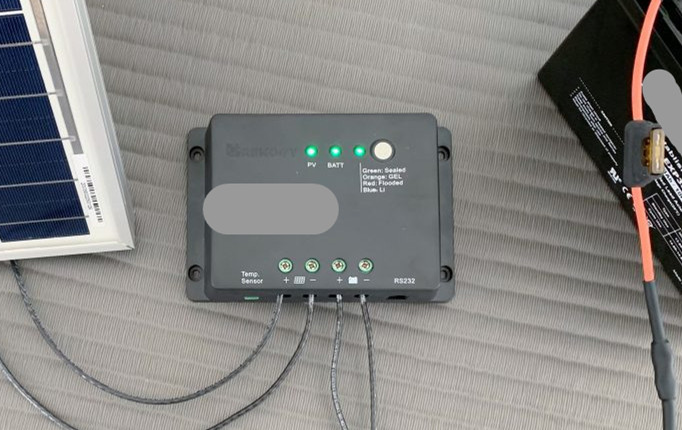
The battery is wired between your power inverter and the charge controller.
Connect the Battery Cables to the Charge Controller.
Turn on the charge controller. It should now be able to measure the load of a battery.
3. Connect panels: series for voltage, parallel for amps
4. Add inverter to power RV appliances
Check the voltage going into the battery is the same as the solar charge controller reading states using the multimeter.
And that’s it.
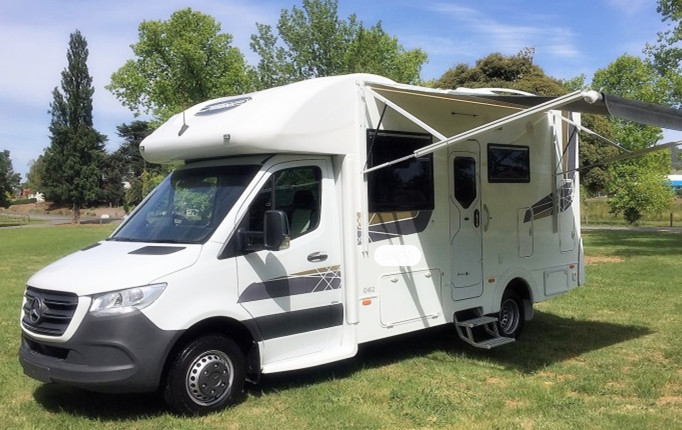
You’ve just successfully installed a camper solar set up – must be time to hit the road!
Or maybe finish the rest of your motorhome conversion first!